In the penultimate part of this series on the talismanic inks of Ghāyat al-Hakīm, (part 1 is now in the locked archive, part 2 is still public), I’m looking at a number of recipes that are all described as some form of yellow.
Virgo 1
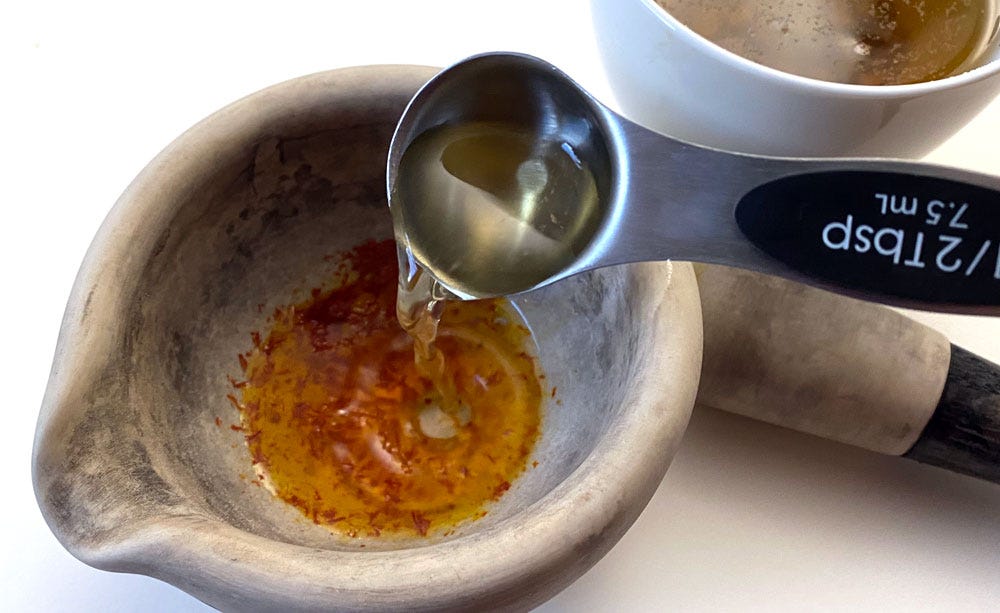
السنبلة الوجه الاول منها احمر ذهبي وذلك ان يسحق الزعفران حتى يكون في غاية البساطة ثم يضرب بماء عفص اخضر منقوع واتركه ساعة وضع فيه يسير صمغ وارسم به
“The first face of Virgo is golden red, and this is to grind saffron until very fine, then bray with the liquid from soaked green gallnuts. Let rest an hour and add a little gum. Draw with it.”
The gallnuts need to soak, so I start by breaking them up. It’s not the season for green gallnuts but I sourced the good stuff, from the Middle East. I usually simply forage for gallnuts here in the UK, and they work just as well but the difference is striking: my local ones are round as marbles and quite light. The imported ones, which are the historically correct ones, are knobbly and almost as dense as pebbles.
They’re covered with hot water and left to soak a few hours, though the tannin release starts very quickly.
Even if I boiled the gallnuts and reduced the solution, though, they would not contribute more than a pale tan colour, so the burden of the “golden red” hue seems to all rest on the saffron. However, it’s difficult to be sure we should interpret it so literally, because in that time period there was no separate word for “brown”: depending on the shade, brown would be called “yellow” or “red”. As I mentioned in part 1, gallnut ink recipes constantly advise on what to do “if the ink is too red”; so it’s not impossible that when the recipe says that this ink is golden red, it merely means the brown of the gallnuts with the golden tint from the saffron. However, let’s go on!
I made this recipe twice. The first time, I didn’t grind a lot of saffron, as it’s supposed to release a lot of colour.
The result was yellow alright, but I didn’t feel it could in any way be called “golden red”.
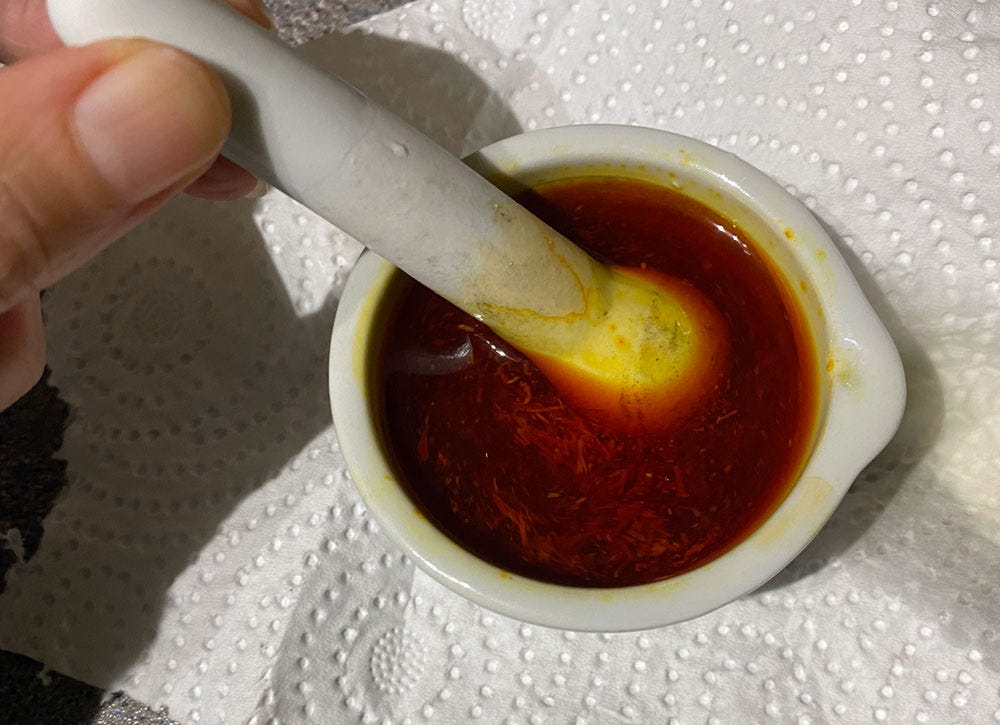
Next, I went all out and ground a lot more saffron before adding the gallnut solution. And there the magic happened: concentrated saffron is absolutely golden red!
The result this time: much more convincing!
I’m sorry to say that saffron is terribly light-sensitive, so despite its beautiful hue, don’t be tempted to paint with it – unless you want your work to vanish like dew in the sun.
Virgo 3
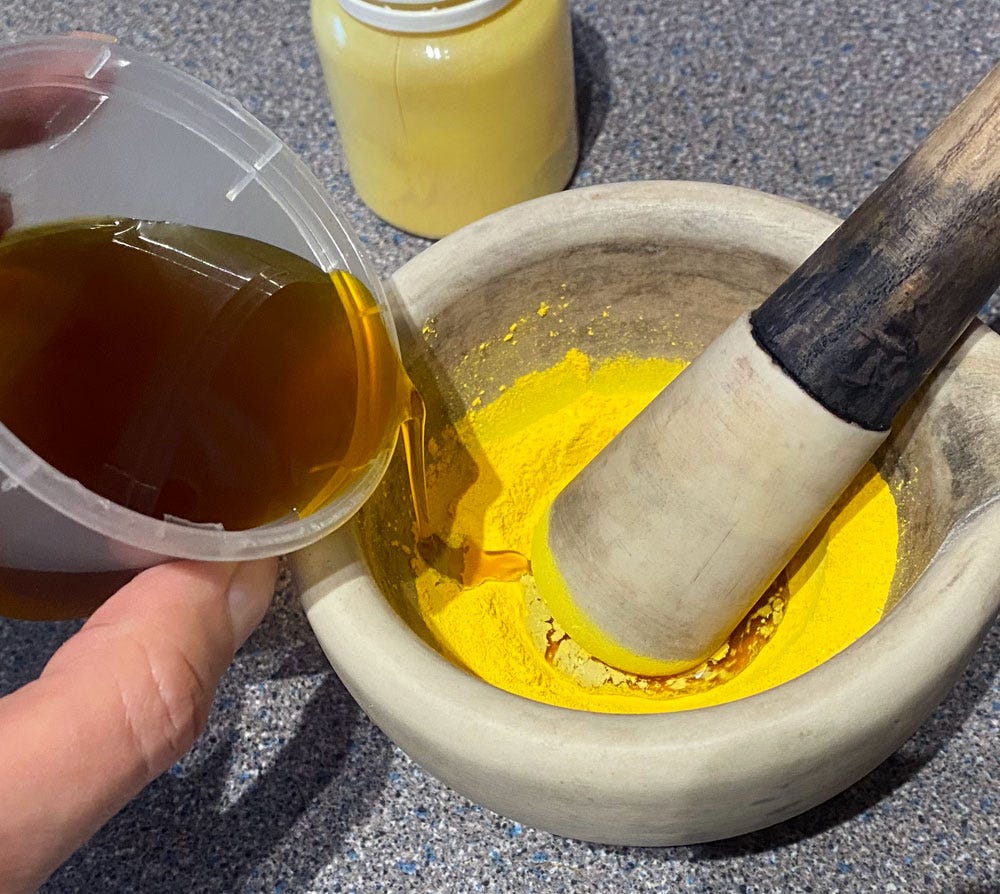
والوجه الثالث اصفر مائلا الى الحمرة يصنع من الزرنيخ بان يسحق ويلتّ بماء زعفران ويسير صمغ ويكتب به
“The third face is yellow leaning to red, made from orpiment, powdered and moistened with saffron decoction. Add a little gum and write with it.”
First off, I love the precision of the language. There may be very few colour words at that point in time, but the perception of colour is subtle nevertheless.
This recipe introduces orpiment, which is a form of arsenic and terribly poisonous. So a word of advice to readers: these articles are not meant to be a tutorial! Many of these substances should only be handled by trained professionals, so don’t try to replicate the recipes (even assuming you can get your hands on the toxic ones, which isn’t easy). I’m myself extremely careful with orpiment and only handle it with protection. It’s a very bright yellow, the brightest you can find in nature save the ephemereal plant-based ones.
Mixing it with saffron only warms it up a little (and in this photo I’m adding the weaker saffron solution).
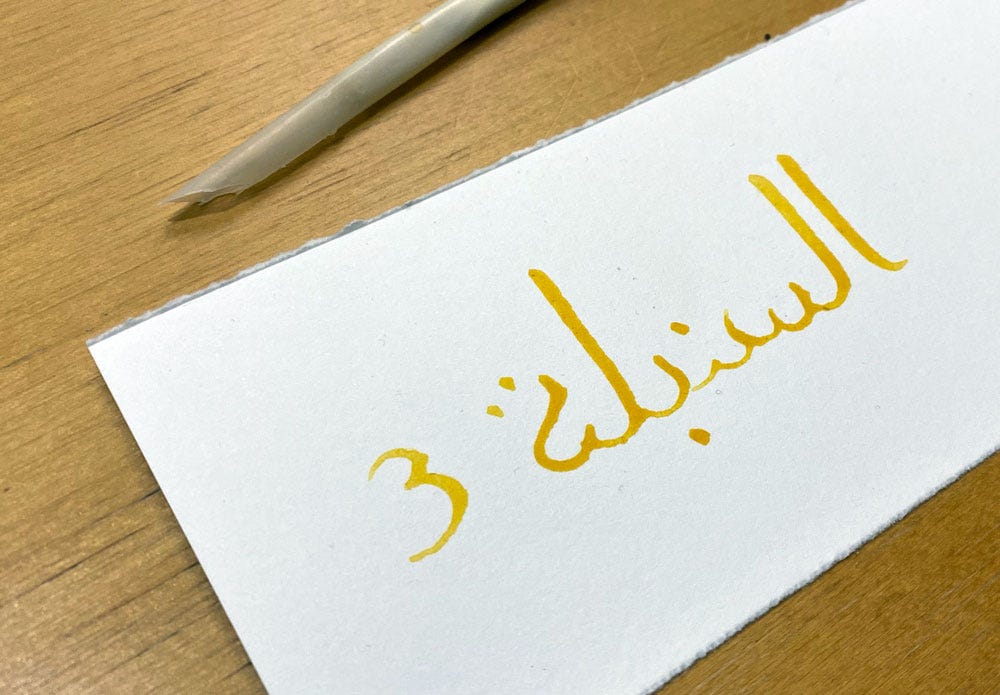
Here’s the final result next to the earlier golden red.
There’s one other recipe involving orpiment, and I don’t actually have photos for it but I’ll discuss it briefly.
Sagittarius 2
والثاني اصفر من زرنيخ اصفر يودع النار ليلةً حتى يخثّر ثاني يوم ببياض ويسير صمغ ويرسم به
“The second [ink] is yellow, of orpiment left in the fire overnight. It is thickened the next day with ceruse and a little gum, and drawn with.”
In the absence of any appropriate setup that would allow me to do this safely, I couldn’t replicate this as described. But I can work out the intention: heat converts the orange-yellow arsenic sulfide into white arsenic trioxide (which is even more toxic). If you put a lump of orpiment in the fire, it won’t convert entirely so once ground it’ll yield a paler yellow. even more so when mixed with ceruse (lead white).
What I did for this was simply mix a pale yellow from orpiment and ceruse. Which, as an aside, is fine for a talismanic ink, but would be very bad practice in painting because the two will react chemically with each other and deteriorate.
Taurus 2
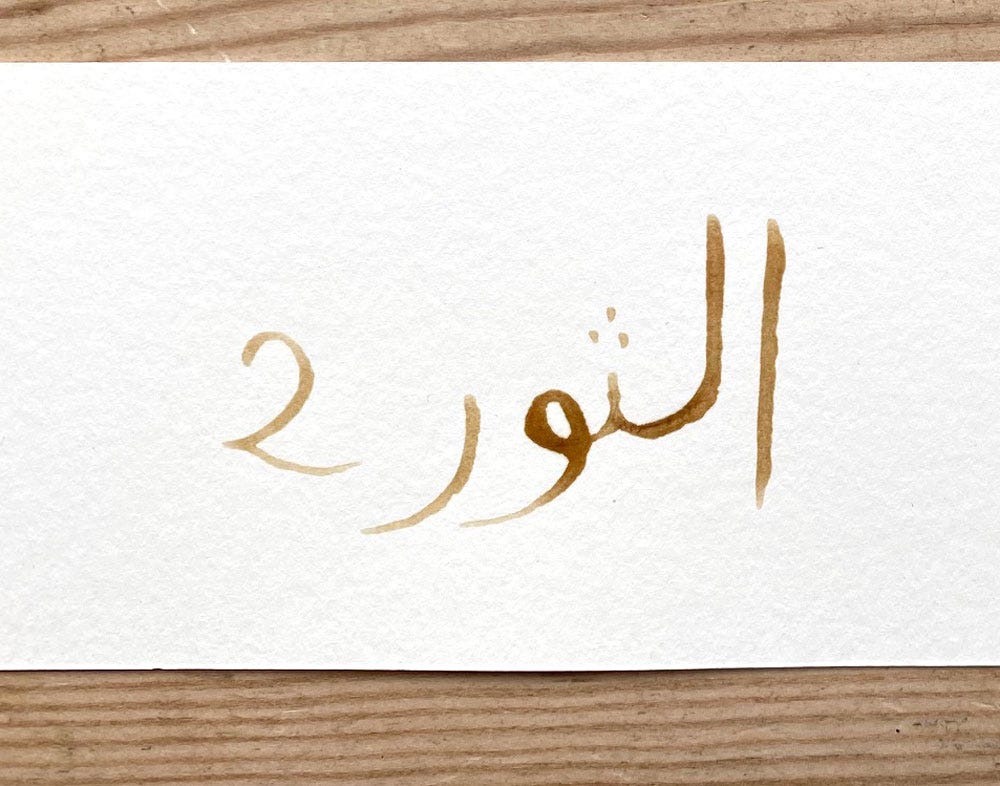
والوجه الثاني مداده اصفر ذهبي وصفته ان يؤخذ العفص ويرضّ ويخرج ما في جوفه من سواد وينقع في ما يغمره من الماء ثم يضرب هذا الماء بماء احمر مستخرج من اللكّ وضع معهما يسير صمغ وارسم به
“The ink for the second face is golden yellow. The recipe: take gallnuts and crush them, removing the blackness in their hollow. Steep in enough water to cover then bray this liquid with the red dye extracted from sticklac. Add a little gum to them and draw with it.”
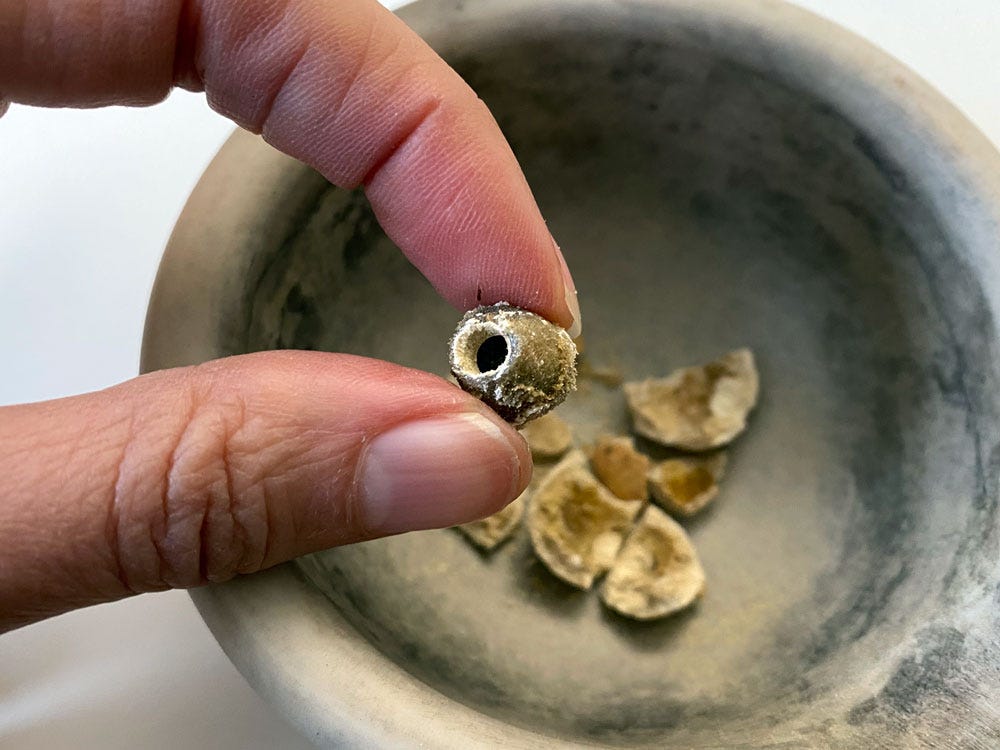
Confession: I have been puzzled for years by the requirement to “remove the blackness”. A gallnut isn’t a fruit, it’s a solid ball of wood with an empty space in the centre where a wasp grew and hatched. I thought it might refer to dirt that got in, or something. And then I started breaking up my historic gallnuts and the second one I broke did this:
Whaaaaaat??? There’s a black pod inside the gallnut, around the hollow!
Fair to say I flipped out. I’ve never seen this before: the area immediately around the wasp acquires such a different texture it’s a darker hue, and will separate neatly from the rest if you’re careful. If you’re not, it gets broken and powdered with the rest and then it’s impossible to separate.
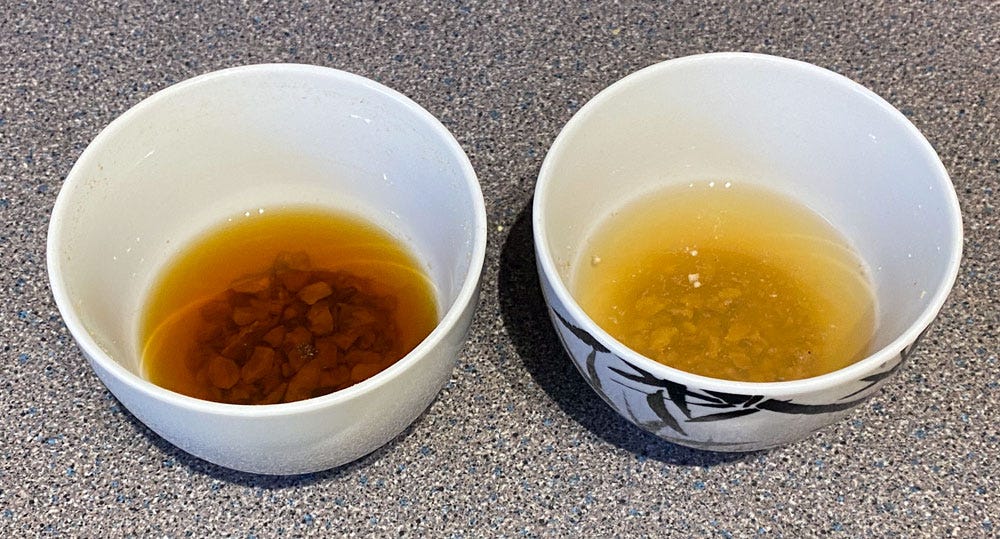
When making a black ink, the presence of this dark element makes no difference at all – I suspect it just adds extra tannin. But will it make a difference here? Below, on the left, is a normal batch with the black stuff. On the right is the gallnut with “blackness removed from its hollow”. I think this is conclusive, don’t you?
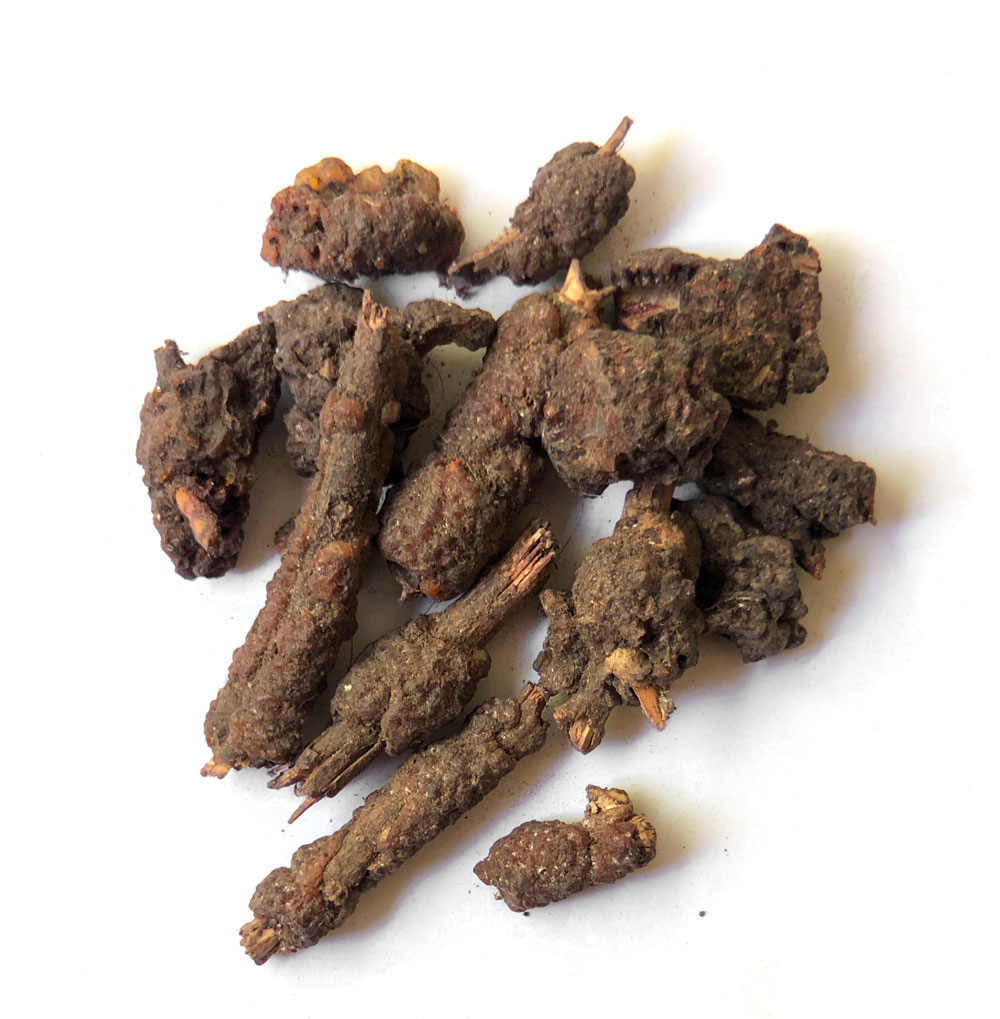
Meanwhile, I need to extract this red dye. Sticklac is a resin secreted by an insect that lives in large colonies (mostly in and around India). Trees end up covered with the stuff, which is the source of natural shellack (as in lacquerware).
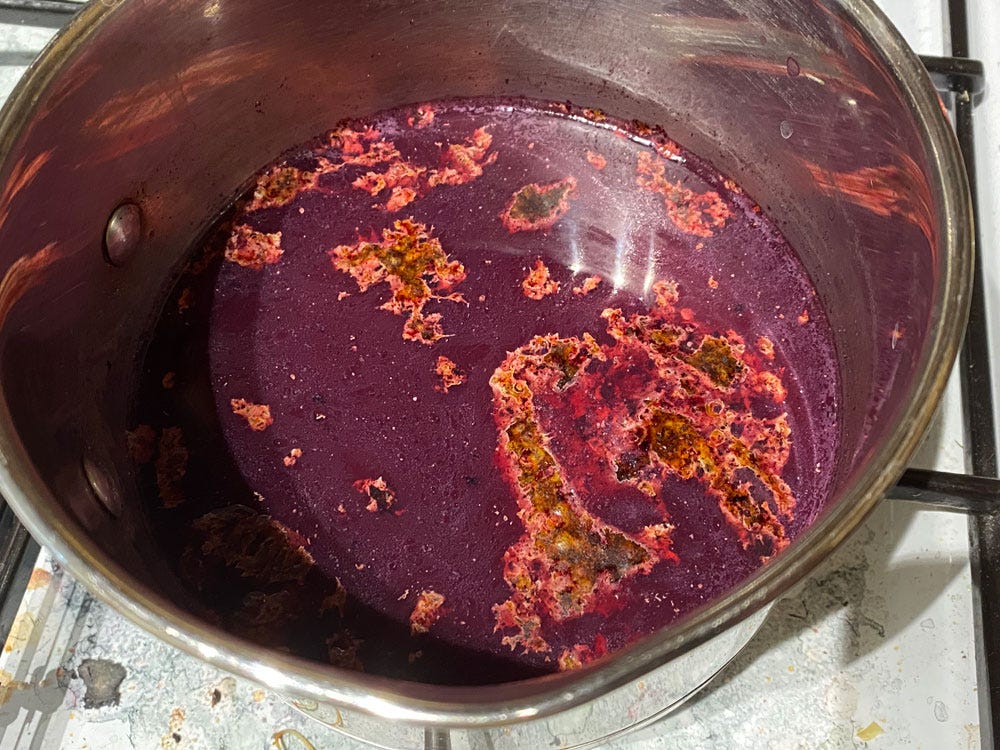
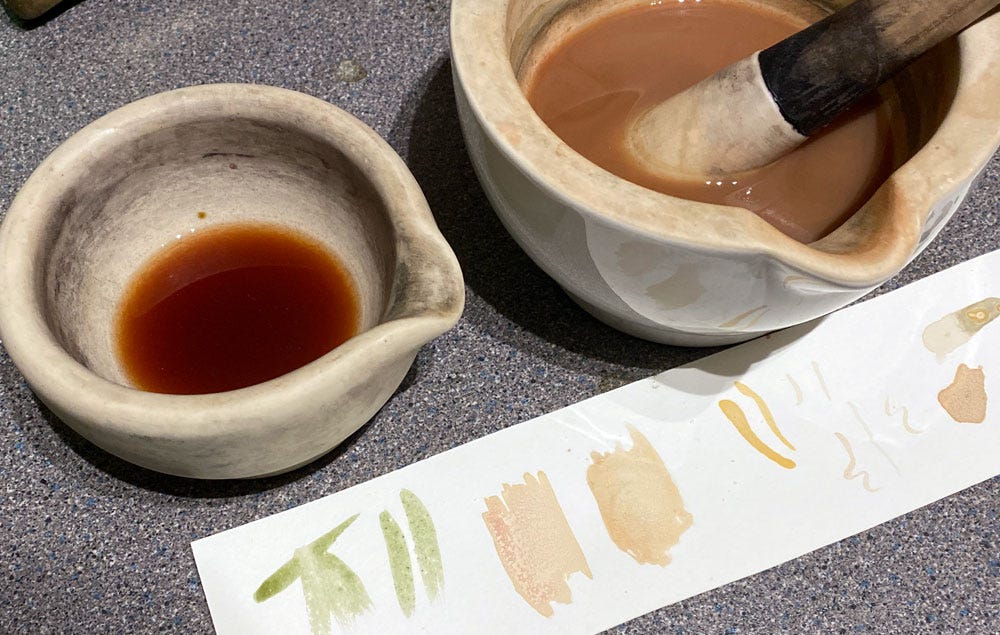
A by-product of purifying sticklac into usable resin, is the beautiful red dye it releases: lac. At the worshop I had to demonstrate with hot water, but for proper results it really needs to be simmered in a pot.
Now to combine the two. The effect (mortar on the right) is curious.
It just about passes muster as a form of yellow, but it’s possible that the alkaline surface of the paper has affected the hue a little, because lac is pH-sensitive. Since quantities are not specified, it’s quite hard to know how much of each solution was intended.
Finally, there is one last golden recipe that is properly alchemical.
Aries 2
الوجه الثاني مداده اصفر ذهبي وصفته طلق وقلقند بالسواء يسحقان ويلتّان بعسل مثلها وتقطّره في القرعة والانبيق وضع في القاطر يسير صمغ وارسم به
The ink for the second face is golden yellow, and its recipe: mica and vitriol in equal amounts are powdered and moistened with as much honey. They’re distilled using cucurbit and alembic. Add a little gum to the distillate and draw with it.
Now, I don’t have access to a distillation unit, but Dr. Lucia Raggetti has already reproduced a version this recipe1 , which finds its way into later inkmaking manuals . Based on her results, on the other wordings I have seen of this recipe, and on my understanding of the materials, here's how I understand it, and how I went about preparing it without the apparatus.
To put it briefly, this is basically a rust ink.
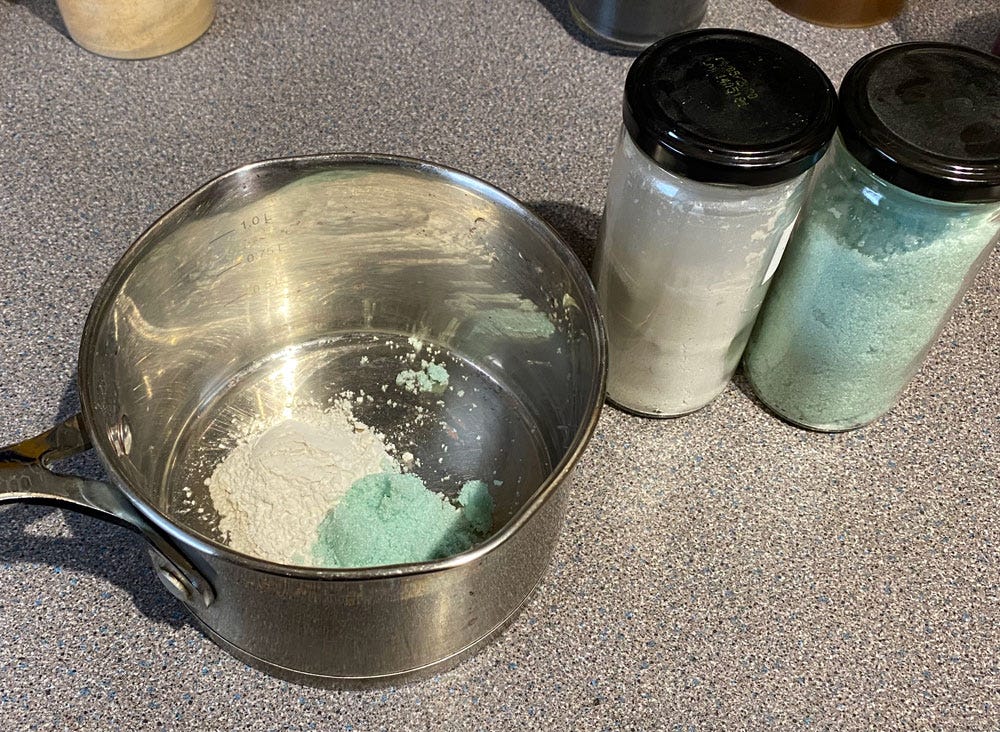
Qalqand is the operating ingredient, the only active one here. It’s the basic green vitriol, ferrous sulphate (though in its natural form it would be contaminated with cupric sulphate). Add water and the solution will slowly turn a rusty colour, deeper after a few days. You could apply this directly to paper for rust-orange writing.
Ṭalq can be talcum or mica; both are very similar minerals, chemically inert, and when ground down they’re a natural kind of glitter. I translate it as mica because I’ve come across a description of separating the sheets and cutting them with scissors before rubbing the pieces between coarse cloths to get it fine – something that sounds a lot more like mica, but it doesn’t actually make a difference in the preparation. Its role is to add a glitter or sheen, depending on fineness, but here the distillation means only the finest particles would make the trip.
This recipe calls for a lot of honey, and yet distillating it takes most of it right out again, as the sugars simply burn when heated and it’s mainly the water contents that ascends.
On this basis, my first attempt mixed vitriol and mica, then I added water and just a little honey and put them on the fire for a while.
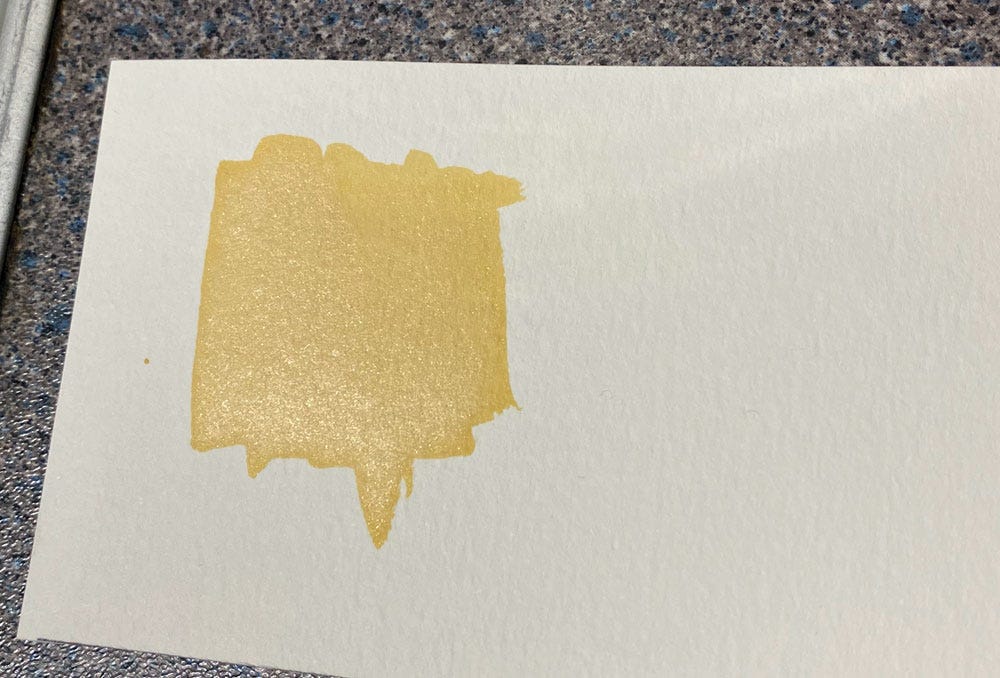
Right from the first, the result looked good: this is a freshly-dried test, which is already golden, and you can see the sheen of the mica. This is probably more mica than the original recipe would have retained, though.
Several days later, it has continued to darken, a very convincing result.
I tried other approaches to the recipe, including adding the specified amount of honey. And it turns out the honey inhibits the oxidisation of the vitriol! The original recipe only works because distillation removes most of it; the more honey, the paler the end result. So many questions about how this recipe came about, though…
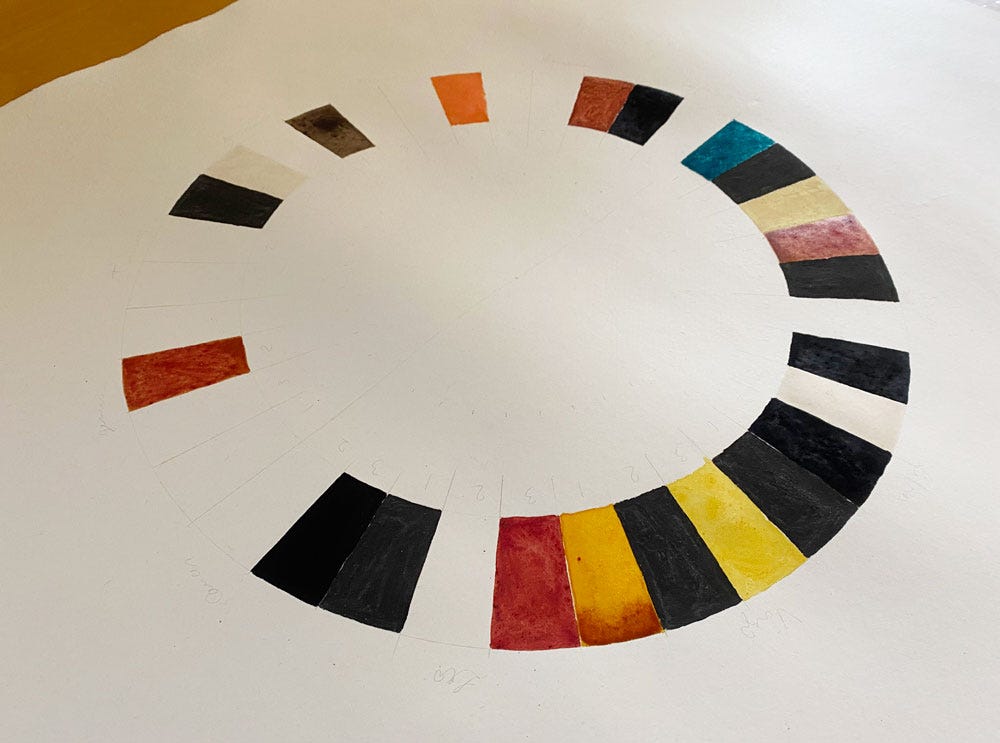
The next post will finish this series and reveal the complete colour chart!
In Inks as Instruments of Writing, Journal of Islamic Manuscripts 2019, pp228-236.








Thank you Joumana for all these precious descriptions of the ancient handmade colors! Your page is a treasure<3
It felt like you were unlocking tiny, gorgeous secrets of the universe with each interpretation and creation. Noticing how nourished I felt as I read this; thank you dearly for sharing your work and for remembering these truly beautiful practices.